Friday, March 22, 2013

DIY: Making a Terrarium

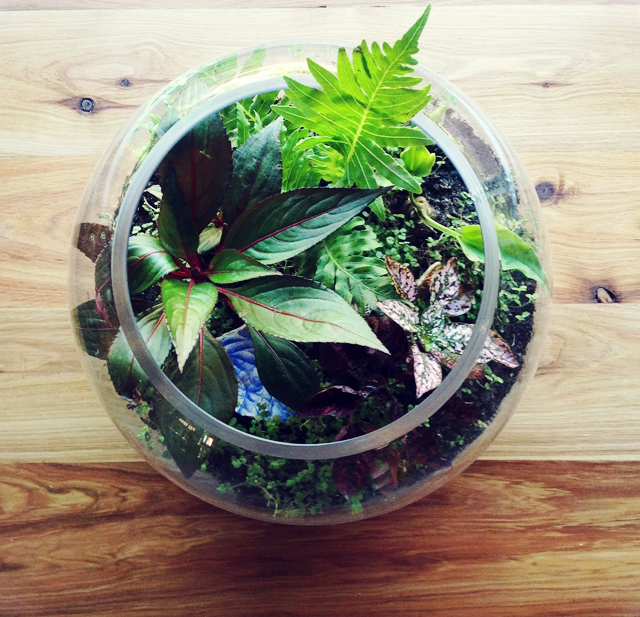
Making a Terrarium
My Mum and Dad both have green thumbs, and used to own a garden nursery when I was a baby. They have a huge bonsai collection (some of which are older than I am), but lately Mum has been rediscovering terrariums. 

Having seen the latest terrarium craze on Etsy, blogs and pinterest, I was under the misguided belief that succulents were a good choice for these little indoor gardens. In fact succulents wont survive long in closed terrariums, as it is far too humid for them to thrive. If you really want to use succulents, choose a dish like pot or bowl to allow plenty of air to circulate and definitely do not use a container with a lid or deep sides. Also, if you choose to use succulents, remember to add clean coarse sand to the soil before you begin. 
Making a Terrarium
Making a Terrarium

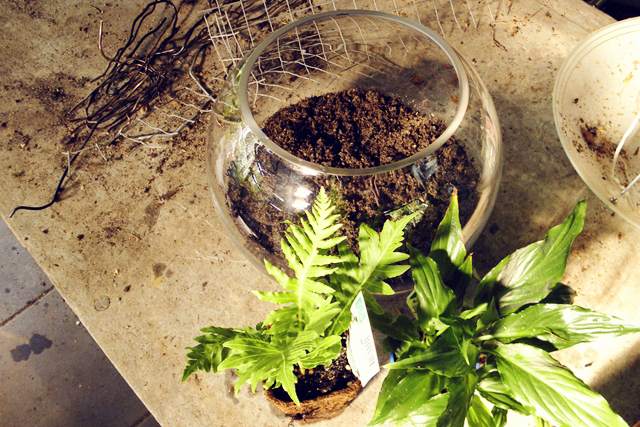
You will need:
A glass container with or without a lid (we scoured op shops, dollar stores and even the garbage tip and found a nice selection of suitable containers).
Gravel
Activated charcoal
Potting mix
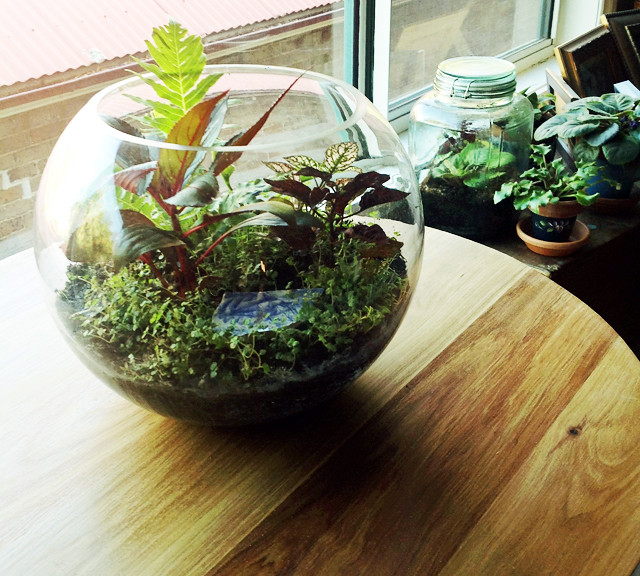
Terrarium plants (we used plants such as small ferns, Hypoestes and Baby's Breath). There is a list here of more plants which are suitable.
Spray bottle and water
Decorative ornaments if desired

To assemble:
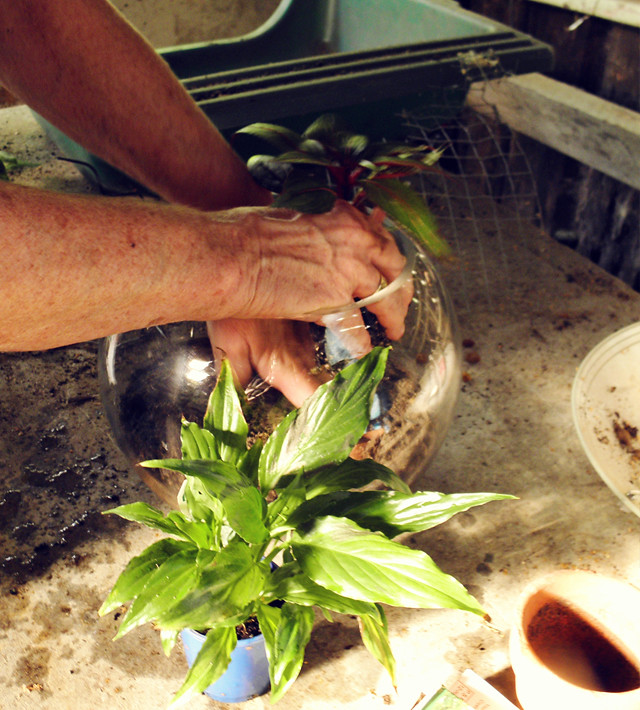
1.)   To aid drainage and avoid roots rotting, place a layer of gravel in the container (about 1.5” deep).

2.)   Next add a layer of activated charcoal, which absorbs moisture and odours.

3.)   You can add a layer of sphagnum moss (Mum didn’t), for aesthetics and also to keep the potting mix from settling in the gravel.

4.)   Add a layer of potting mix, at least a few inches deep. The amount depends on the size and shape of the container but make sure it is deep enough to accommodate the roots of your plants.

5.)   Once you have decided where you would like each plant to be placed you can begin to remove plants from their pots. You may need to trim the roots, which will slow the growth of the plant (a good thing in a terrarium!); you can trim up to half the roots without damaging the plant.

6.)   To plant, dig a hole in the soil, and place plant in, gently patting soil around it. Create interest by varying heights and colours of plants.

7.)   Water your plants with a spray bottle, and ensure soil is damp but not soaked.

Terrarium care:
Keep your terrarium moist and out of direct sunlight and away from heaters to avoid it drying out. If your terrarium has a lid,  take the lid off every few weeks (or if you see a lot of condensation) to air it out.  

Making a Terrarium
There you have it! If you have any questions let me know, I'm sure Mum will know the answer!
Have a great weekend! x
Tuesday, March 19, 2013

My First Sketchbook

My First Sketchbook
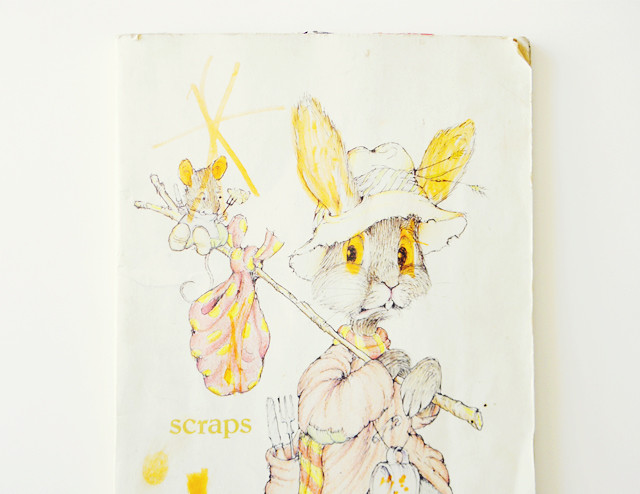
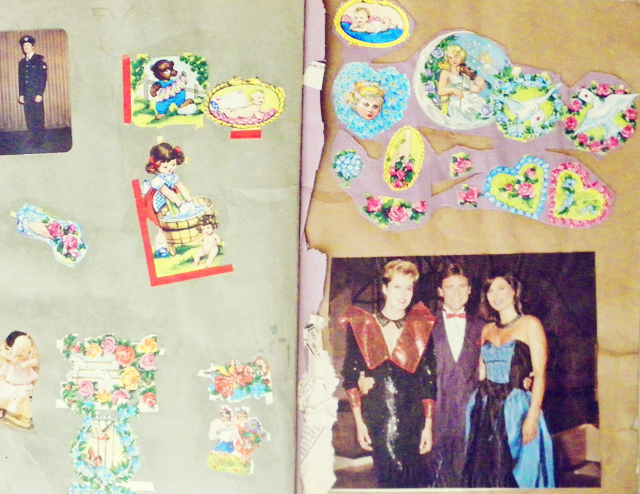
I came across my very first sketchbook while organising my bookcases on the weekend. I have a memory of doing these exact pages, sitting at the coffee table, with my safety scissors, clag paste and textas. I remember we were all in the lounge room after dinner and that we were watching "Hey Hey It's Saturday".

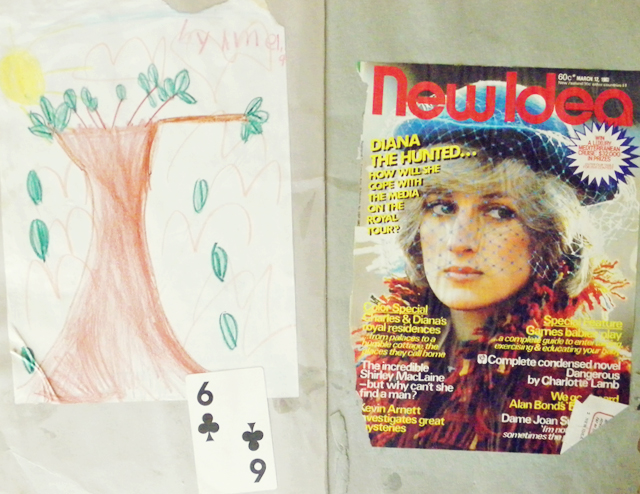
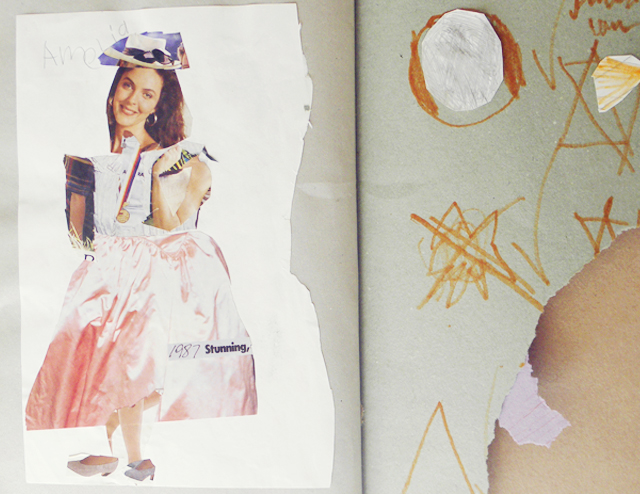
I would have been 4 or 5 years old, and evidently I had a worrying obsession with Princess Di as she features heavily throughout the pages.

My First Sketchbook My First Sketchbook My First Sketchbook
My First Sketchbook

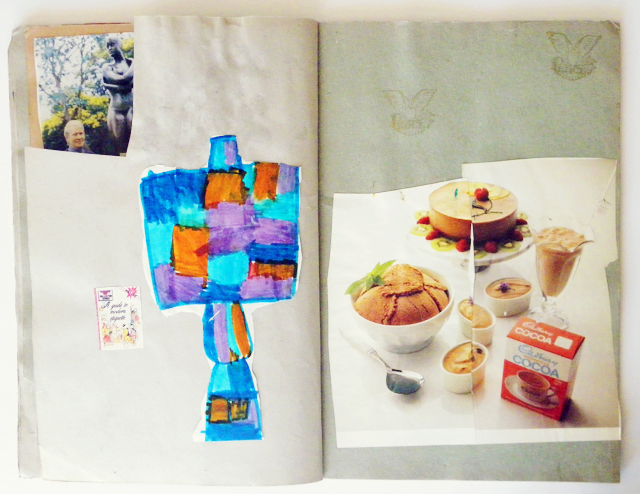
That blue and orange thing in the image above is a toilet (can't you tell?), and I know I thought that was the coolest drawing of a toilet I'd ever seen. I remember standing in the bathroom studying the shapes of the toilet to make it as realistic as I could. Not sure where the colour scheme came from! The little book cover pasted next to it is called "A Guide to Modern Etiquette."

My First Sketchbook

Hopefully I'll come across some more drawings from my younger years soon! Happy Wednesday!

Friday, March 15, 2013

Pinterest Picks

Pinterest Picks #2
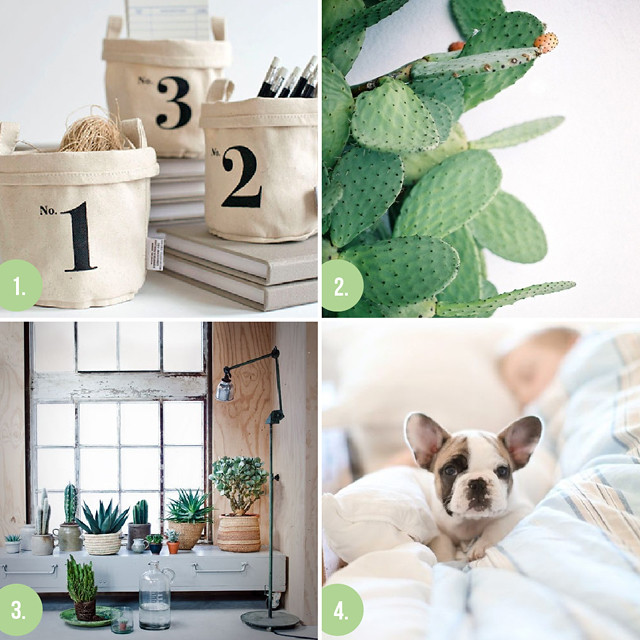
Inspiring images from my Pinterest boards for the weekend. Happy Saturday! Have a great weekend!

1No. 1-3 Recycled Canvas Buckets by Harabu House via Ez Pudewa
2. Cactus by The Brick House via mrs. french*
3. Room by Uncovet Blog via Amy Moore
4. French Bulldog via Cristina Ramirez

Tuesday, March 12, 2013

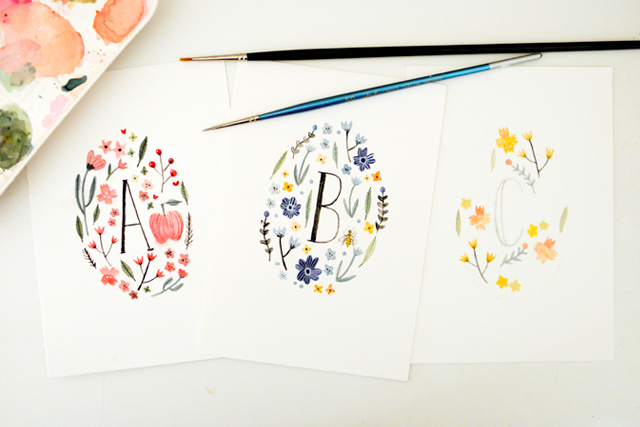
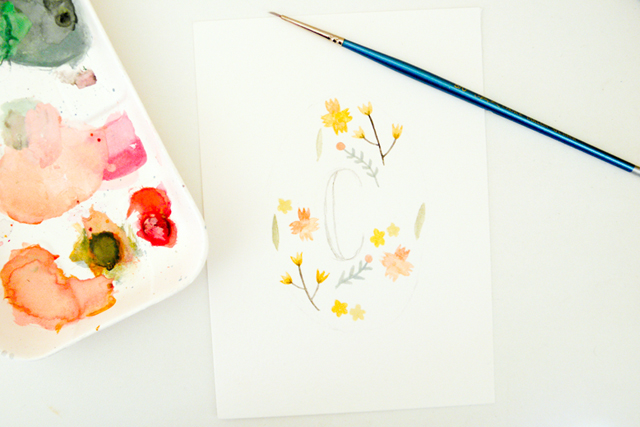
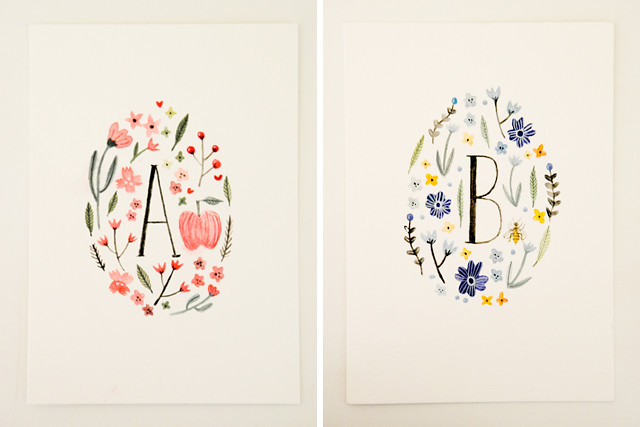
In the Studio: New monogram prints

New Monograms New Monograms
New Monograms
Last night, I had a few margaritas to celebrate my birthday, which isn't until tomorrow but I wont see Harley at all (one con of dating a chef - they work late nights) so we decided to celebrate early. He made the most delicious spicy smoky chicken on the weber, as well as El Loco inspired hot dogs (pro of dating a chef), which were even better than El Loco's and featured fresh corn.

So today I am in the studio listening to some terrible movies from my teenage years (I am calling it "comfort watching") while working on some art commissions. I am also working on these new letter monograms which will soon be available as prints and greeting cards.

Monday, March 11, 2013

Making Basil Pesto

Making Basil Pesto
Making Basil Pesto
As summer has sadly ended here in Australia (I don’t know if I can deal with another Orange winter), I’ve been thinking of how to use up all the herbs and vegies that won’t survive the cold.
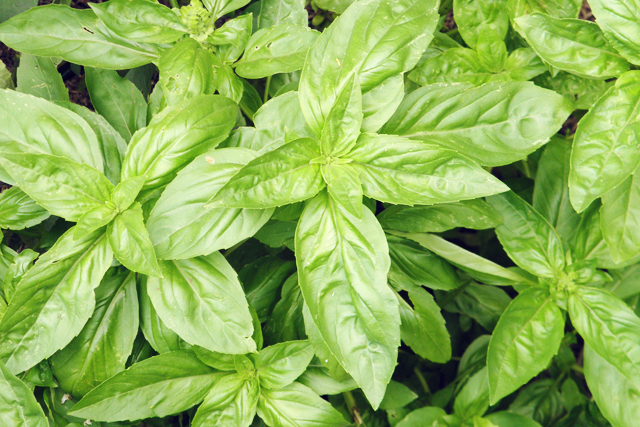
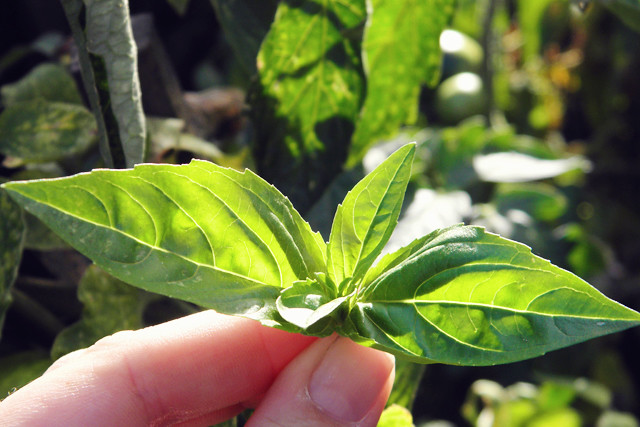
Basil is without a doubt my favourite herb, and we had a huge amount of it this year so I decided to make a batch of basil pesto!

Making Basil Pesto
I used the recipe from a book my parents gave Harley and myself for Christmas – Stephanie Alexander’s Kitchen Garden Companion. It is such a good book for newcomers to gardening like myself. It's also great for people wanting a kitchen garden but have little space to work with.

The book features a range of the most popular fruits, vegies and herbs in a kitchen garden and each section has advice on when to plant and harvest as well as some great tips for organic pesticides. Along with this information Stephanie provides delicious and simple recipes for each fruit, vegie or herb.

Basil Pesto
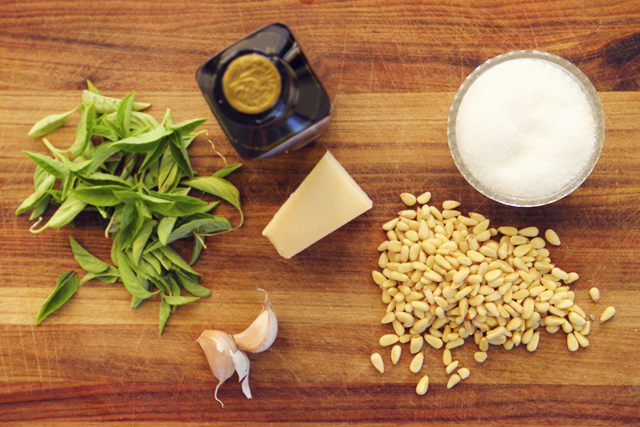
Ingredients
1 cup firmly packed basil leaves
½ cup extra virgin olive oil, plus extra to seal
¼ cups pine nuts
2 cloves garlic, crushed
Sea salt
60 grams parmesan, grated

Harley (being a chef), had to throw in his own tips as I was making this, so I did add the zest and juice of one lemon as well.

Directions
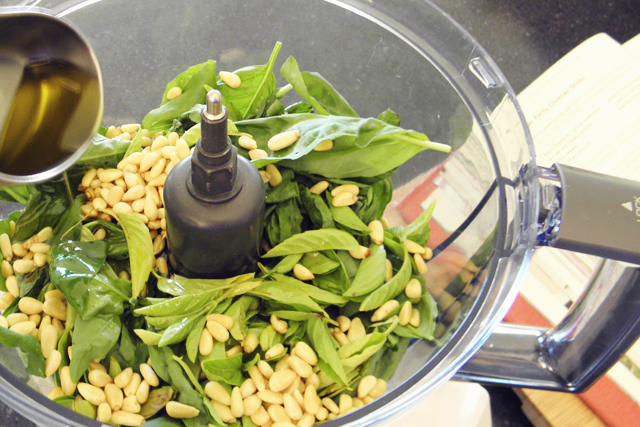
Put basil leaves, olive oil, pine nuts, garlic and salt in a blender or food processor and blend/process until smooth. Stop the machine once or twice and scrape down the sides with a spatula. 

When evenly blended, scrape the green paste into a bowl and stir in cheese.

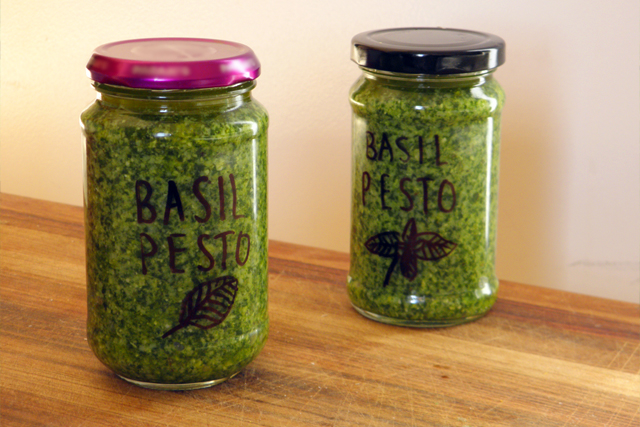
Spoon pesto into a clean and dry 250 ml-capacity screw-top jar.  Press down with the back of a spoon to ensure there are no air pockets and seal with a film of olive oil. Store in the refrigerator.

This recipe is from Stephanie Alexander's Kitchen Garden Companion (Penguin Lantern 2009).

Making Basil Pesto
Making Basil Pesto

Wednesday, March 6, 2013

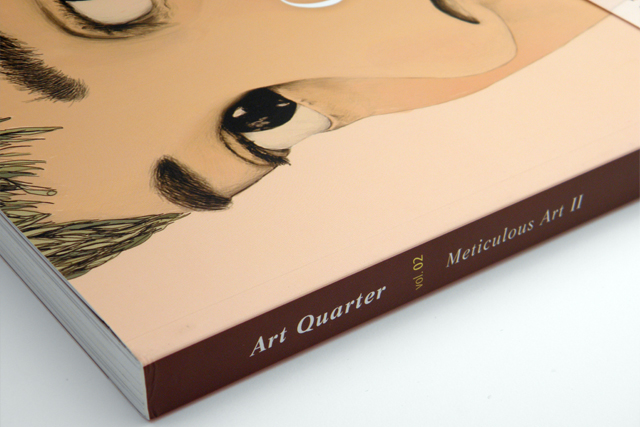
DPI Magazine: Art Quarter vol 2 Meticulous Art II

DPI magazine
DPI magazine DPI magazine DPI magazine DPI magazine
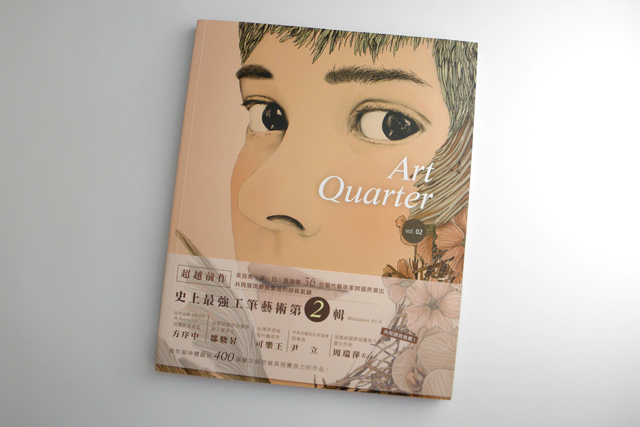
Cover image by Gabriella Barouch
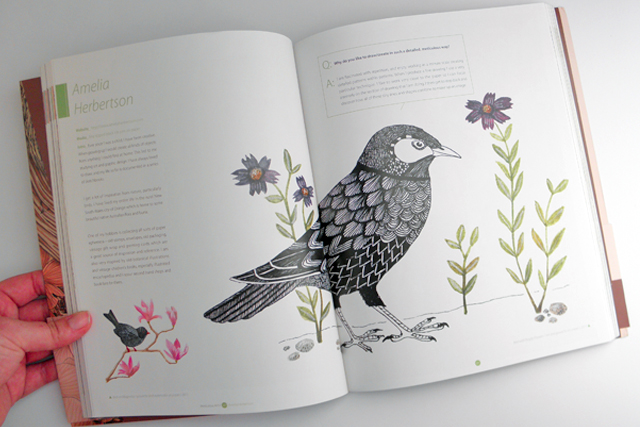
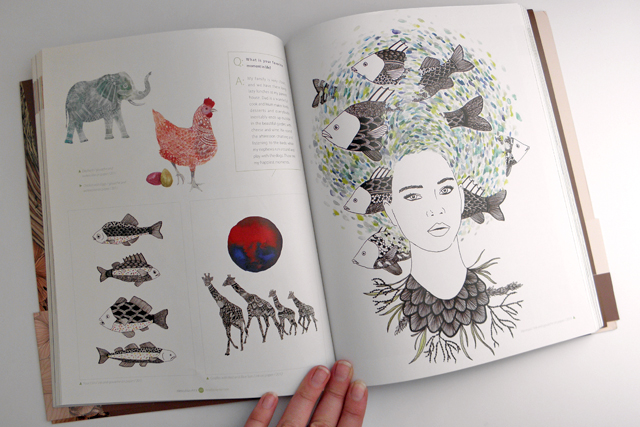
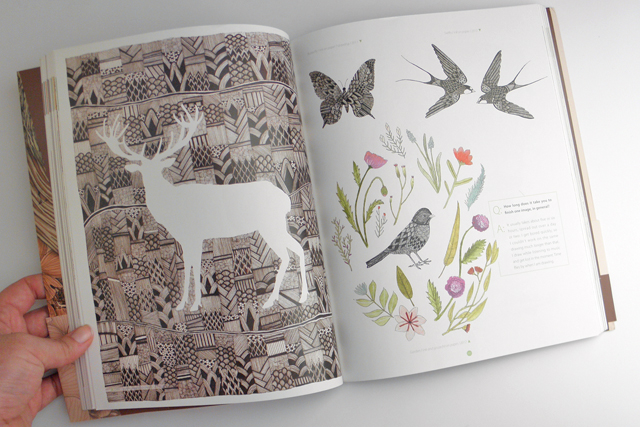
Harley surprised me at work when he brought in a parcel I’ve been waiting for. Last year I was asked by the lovely Fran Chen, the Editorial and Creative Director of DPI magazine, to take part in its latest publication, Meticulous Art Vol 2. DPI magazine is a well known art magazine based in Taiwan. There are so many unbelievable artists in there! I'm so thrilled to be included amongst such talent!

One of my favourites is Bovey Lee, who creates the most detailed and beautiful hand cut papercut artworks I have ever seen. Her website is definitely worth a look, I guarantee you will be amazed (links under the images).

Bovey Lee, Sewing Highways, 2011
Bovey Lee, Trimming Feathers (detail), 2012