Showing posts with label DIY. Show all posts

Sunday, March 23, 2014

Very Rustic Flower Arranging

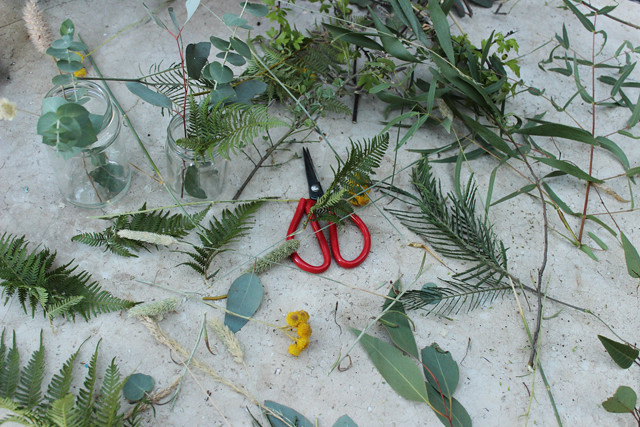
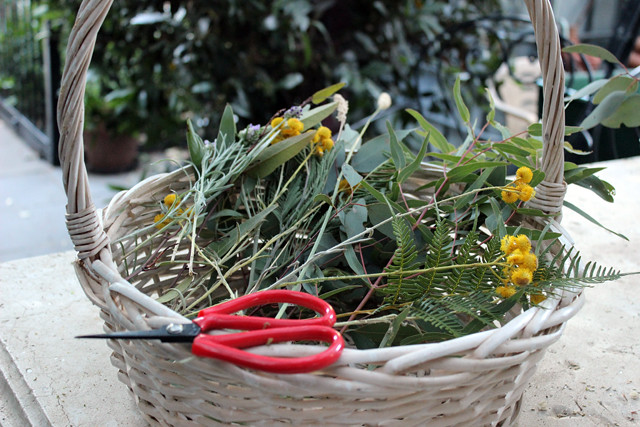
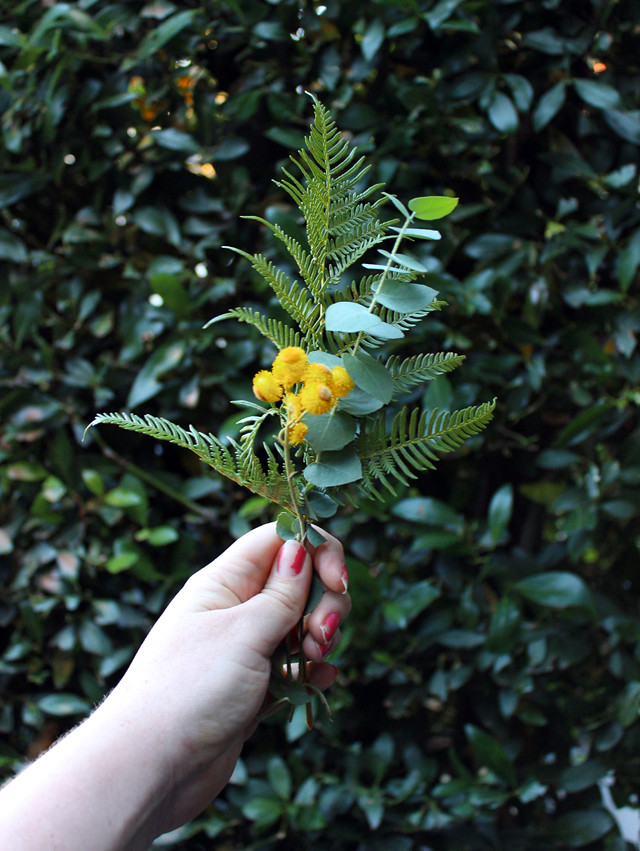
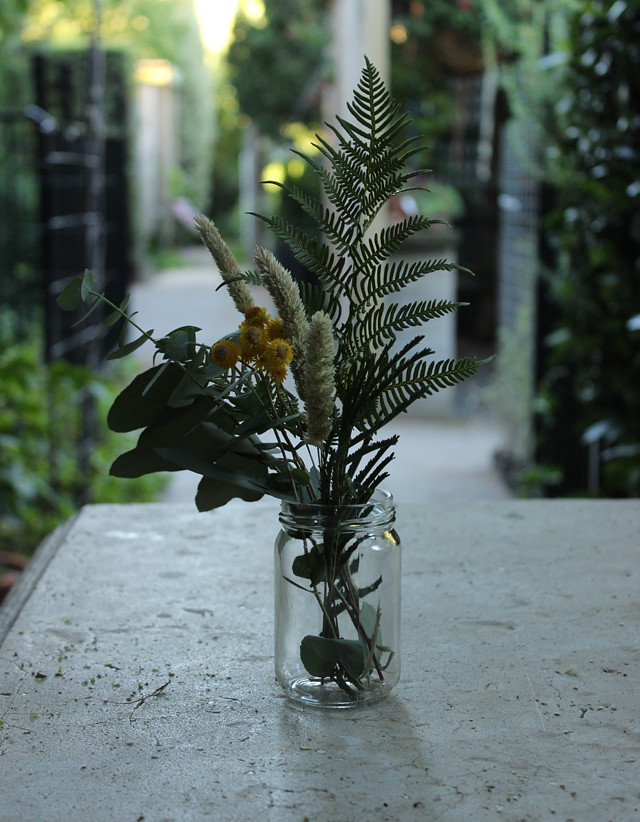
Picking wild flowers Picking wild flowers Picking wild flowers Picking wild flowers

When out on a drive recently we decided to stop the car and pick some foliage from the side of the road next to Harley's parents house. I needed some different leaves to use as a reference for some new paintings. I'm not sure what those little yellow flowers are, most likely a weed but they are pretty!

Sunday, May 19, 2013

Propogating succulents

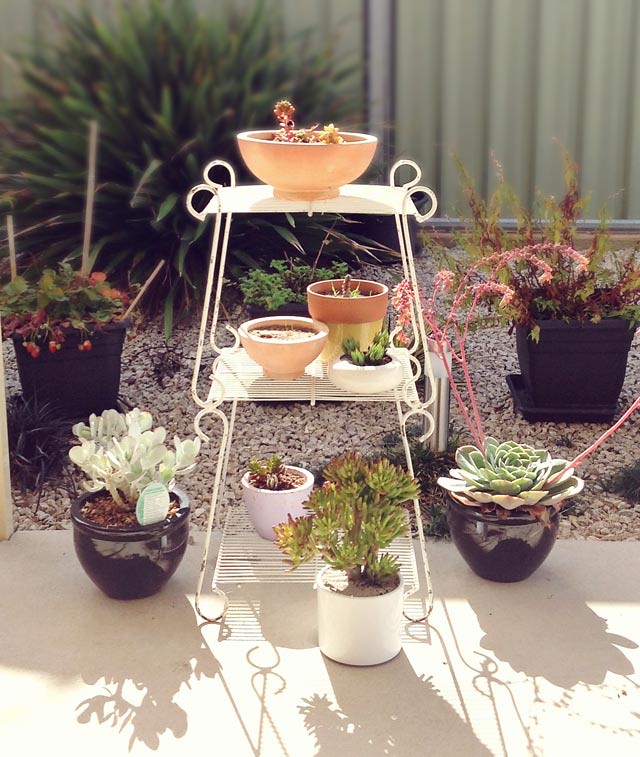
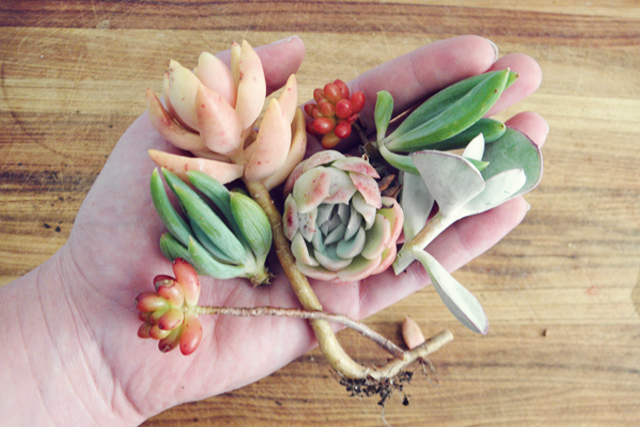
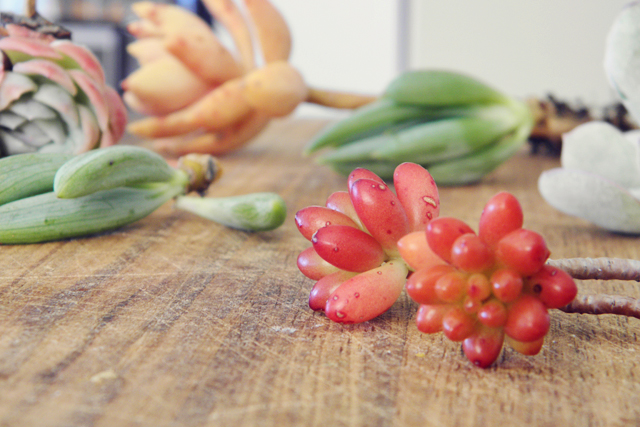
My collection of succulents has grown so much that Harley has gently suggested that maybe I stop buying them now (I have a habit of impulse-shopping for succulents). I just love how there are so many different varieties, and I like how easy they are to propagate with cuttings. Half of my collection is made up of succulents propagated from cuttings Mum has taken from hers.

Succulents
a small part of my collection
Propogating succulents Propogating succulents
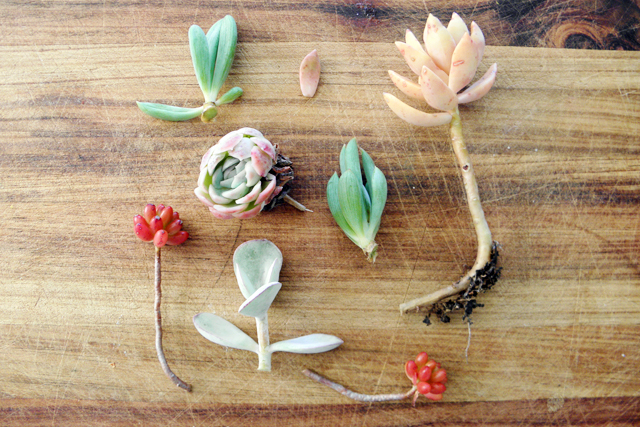
Succulent cuttings
Propogating succulentsphoto-(20)
Attempting to deter birds

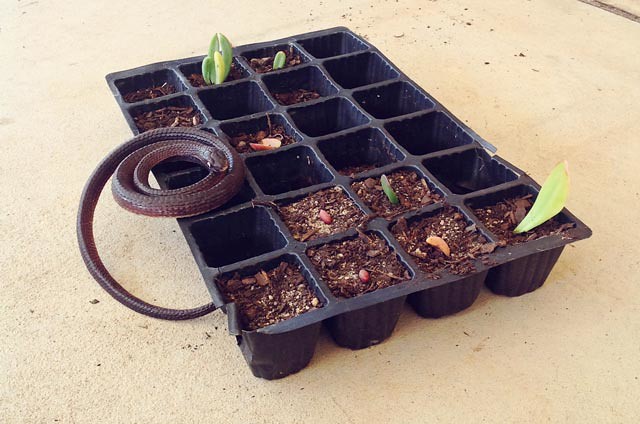
Last weekend I took some cuttings to make a large pot of mixed succulents as a gift for someone. I’m not sure if they will survive as they weren’t very established so I’ve got some back up cuttings planted in a seed tray just in case.

I noticed that a very bold bird has taken to pulling them out of the soil, and leaving them there. I guess he thinks they are food because there are snip marks all over them from his beak. I was told that leaving a fake rubber snake nearby is a deterrent for birds, so I gave it a try and it worked. I would have thought the bird would eventually wise up to the trick but it hasn’t tried pulling them out again. Maybe he’s just learned the succulents aren’t food and has moved on.

Friday, March 22, 2013

DIY: Making a Terrarium

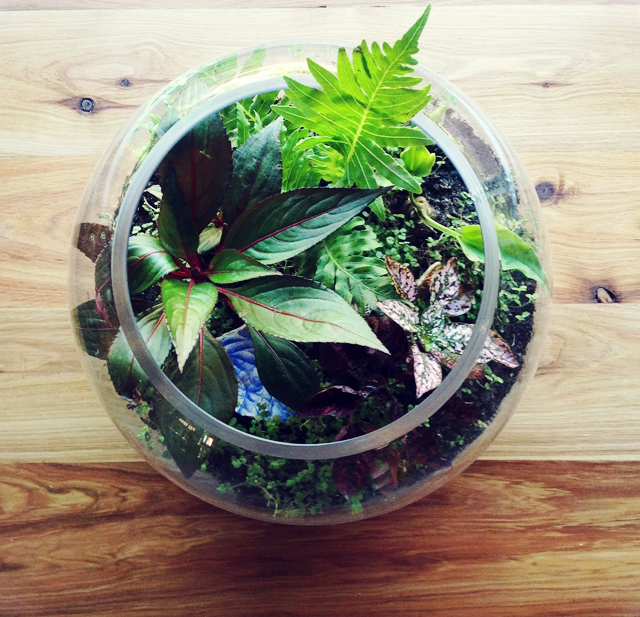
Making a Terrarium
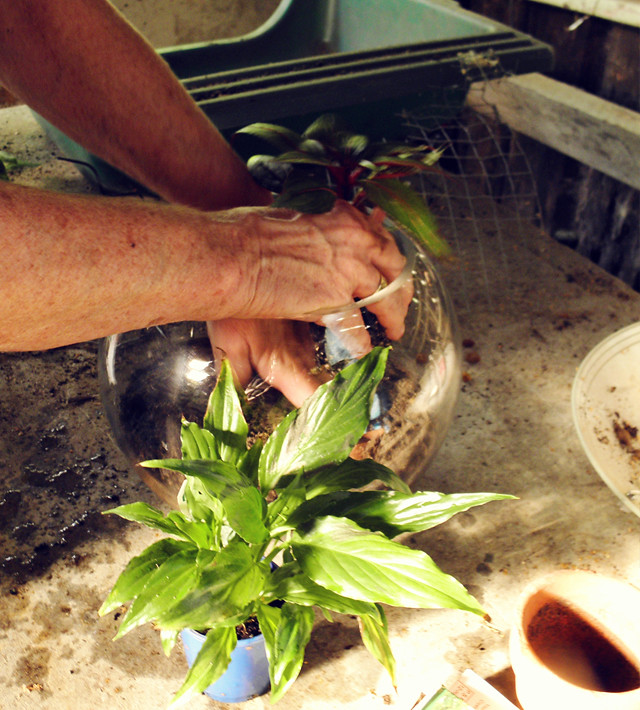
My Mum and Dad both have green thumbs, and used to own a garden nursery when I was a baby. They have a huge bonsai collection (some of which are older than I am), but lately Mum has been rediscovering terrariums. 

Having seen the latest terrarium craze on Etsy, blogs and pinterest, I was under the misguided belief that succulents were a good choice for these little indoor gardens. In fact succulents wont survive long in closed terrariums, as it is far too humid for them to thrive. If you really want to use succulents, choose a dish like pot or bowl to allow plenty of air to circulate and definitely do not use a container with a lid or deep sides. Also, if you choose to use succulents, remember to add clean coarse sand to the soil before you begin. 

Making a Terrarium
Making a Terrarium

You will need:
A glass container with or without a lid (we scoured op shops, dollar stores and even the garbage tip and found a nice selection of suitable containers).
Gravel
Activated charcoal
Potting mix
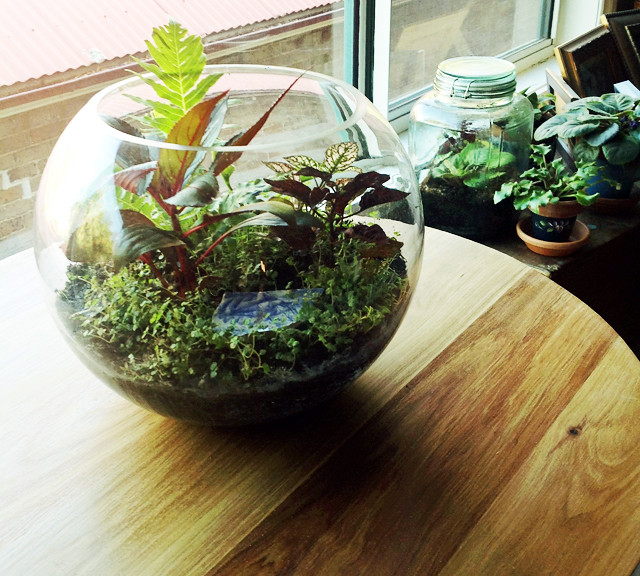
Terrarium plants (we used plants such as small ferns, Hypoestes and Baby's Breath). There is a list here of more plants which are suitable.
Spray bottle and water
Decorative ornaments if desired

To assemble:
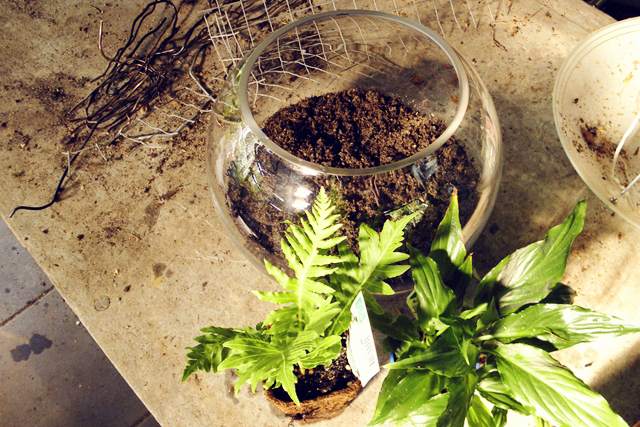
1.)   To aid drainage and avoid roots rotting, place a layer of gravel in the container (about 1.5” deep).

2.)   Next add a layer of activated charcoal, which absorbs moisture and odours.

3.)   You can add a layer of sphagnum moss (Mum didn’t), for aesthetics and also to keep the potting mix from settling in the gravel.

4.)   Add a layer of potting mix, at least a few inches deep. The amount depends on the size and shape of the container but make sure it is deep enough to accommodate the roots of your plants.

5.)   Once you have decided where you would like each plant to be placed you can begin to remove plants from their pots. You may need to trim the roots, which will slow the growth of the plant (a good thing in a terrarium!); you can trim up to half the roots without damaging the plant.

6.)   To plant, dig a hole in the soil, and place plant in, gently patting soil around it. Create interest by varying heights and colours of plants.

7.)   Water your plants with a spray bottle, and ensure soil is damp but not soaked.

Terrarium care:
Keep your terrarium moist and out of direct sunlight and away from heaters to avoid it drying out. If your terrarium has a lid,  take the lid off every few weeks (or if you see a lot of condensation) to air it out.  

Making a Terrarium
There you have it! If you have any questions let me know, I'm sure Mum will know the answer!
Have a great weekend! x

Monday, March 11, 2013

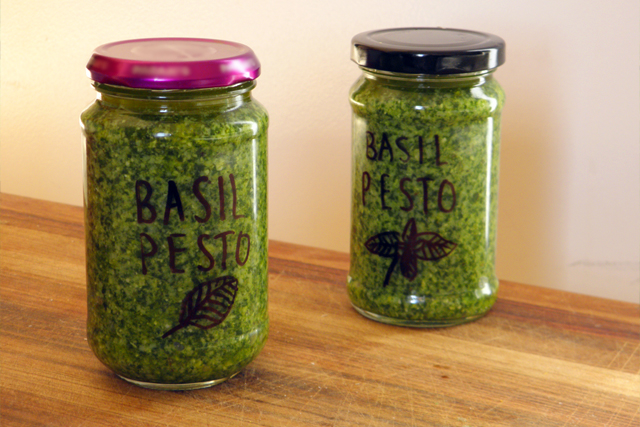
Making Basil Pesto

Making Basil Pesto
Making Basil Pesto
As summer has sadly ended here in Australia (I don’t know if I can deal with another Orange winter), I’ve been thinking of how to use up all the herbs and vegies that won’t survive the cold.
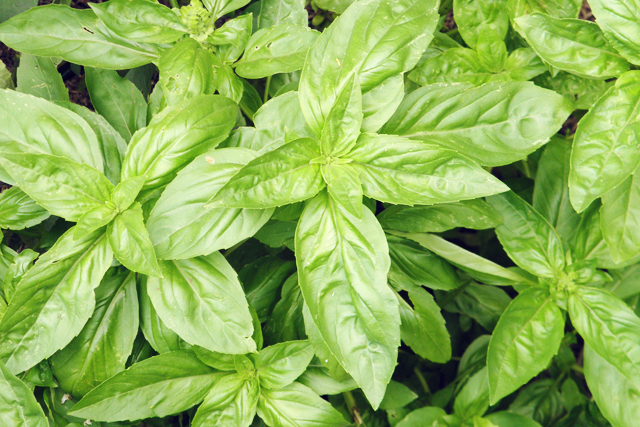
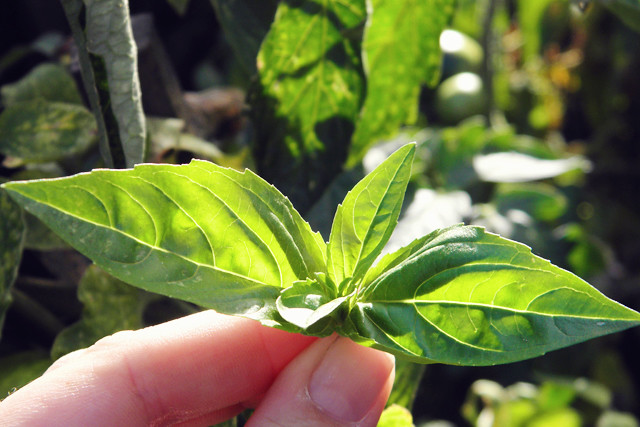
Basil is without a doubt my favourite herb, and we had a huge amount of it this year so I decided to make a batch of basil pesto!
Making Basil Pesto
I used the recipe from a book my parents gave Harley and myself for Christmas – Stephanie Alexander’s Kitchen Garden Companion. It is such a good book for newcomers to gardening like myself. It's also great for people wanting a kitchen garden but have little space to work with.

The book features a range of the most popular fruits, vegies and herbs in a kitchen garden and each section has advice on when to plant and harvest as well as some great tips for organic pesticides. Along with this information Stephanie provides delicious and simple recipes for each fruit, vegie or herb.

Basil Pesto
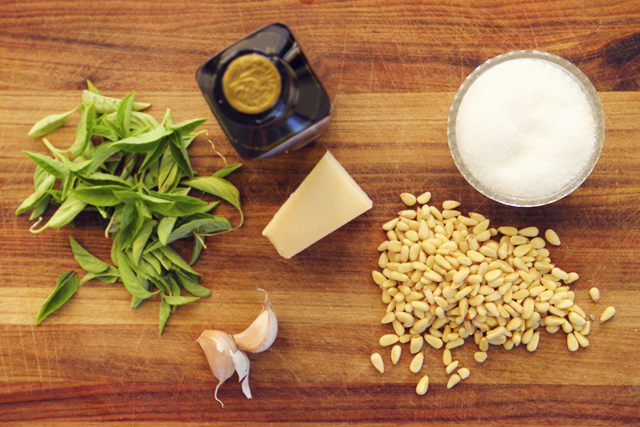
Ingredients
1 cup firmly packed basil leaves
½ cup extra virgin olive oil, plus extra to seal
¼ cups pine nuts
2 cloves garlic, crushed
Sea salt
60 grams parmesan, grated

Harley (being a chef), had to throw in his own tips as I was making this, so I did add the zest and juice of one lemon as well.

Directions
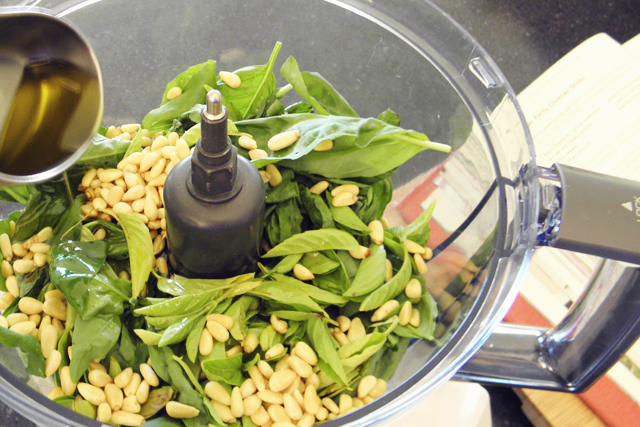
Put basil leaves, olive oil, pine nuts, garlic and salt in a blender or food processor and blend/process until smooth. Stop the machine once or twice and scrape down the sides with a spatula. 

When evenly blended, scrape the green paste into a bowl and stir in cheese.

Spoon pesto into a clean and dry 250 ml-capacity screw-top jar.  Press down with the back of a spoon to ensure there are no air pockets and seal with a film of olive oil. Store in the refrigerator.

This recipe is from Stephanie Alexander's Kitchen Garden Companion (Penguin Lantern 2009).
Making Basil Pesto
Making Basil Pesto

Thursday, December 6, 2012

Free Printable: Christmas Tags

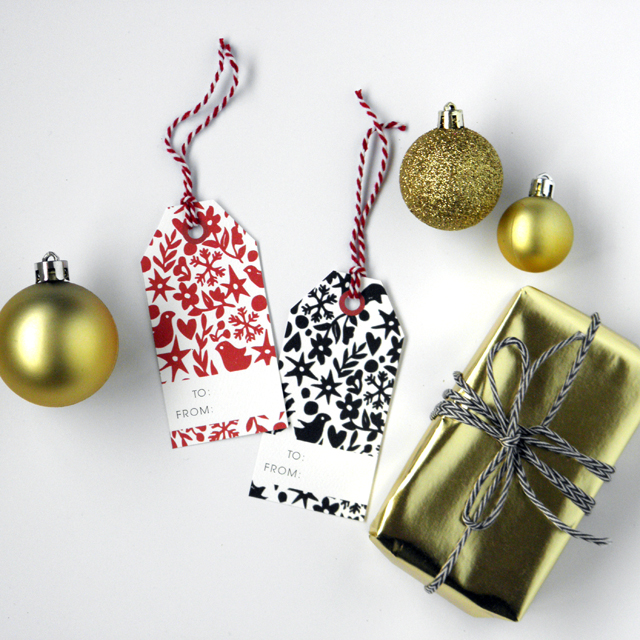
Free printable christmas gift tags

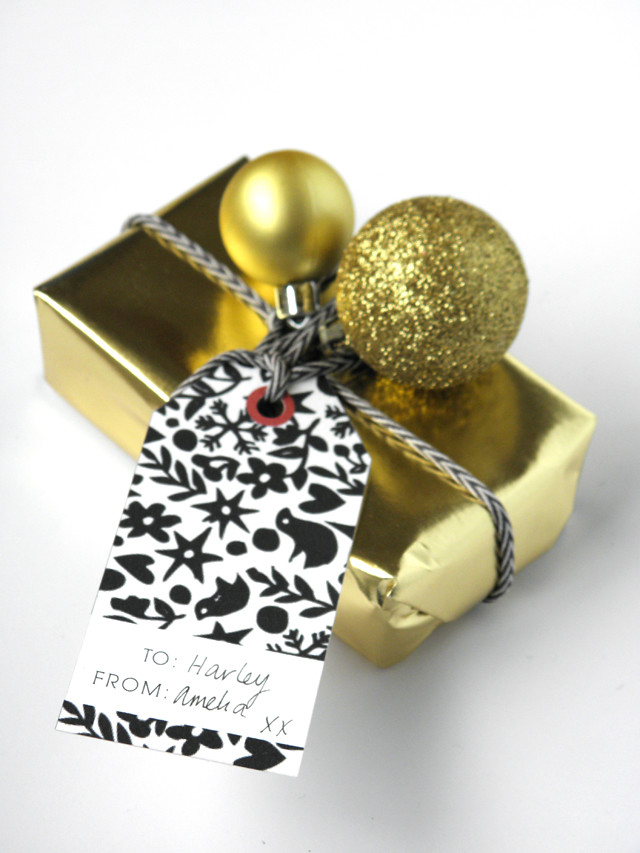
Free printable christmas gift tags

I designed these little Christmas gift tags to use in my gift wrapping this year, and thought I should make them available for you too. The pattern is taken from this card, one of my linocut designs. I used illustrator and photoshop to change the design around a bit. I would love to be able to have this printed on wrapping paper!

Download your free gift tags here  (for personal use only please).
Make sure your print settings are set to 'high', and use thick paper or card with a textured finish for best results. Use a hole punch to cut out the hole at the top and you're done. Perfect for any last minute gift wrapping!
Wednesday, August 8, 2012

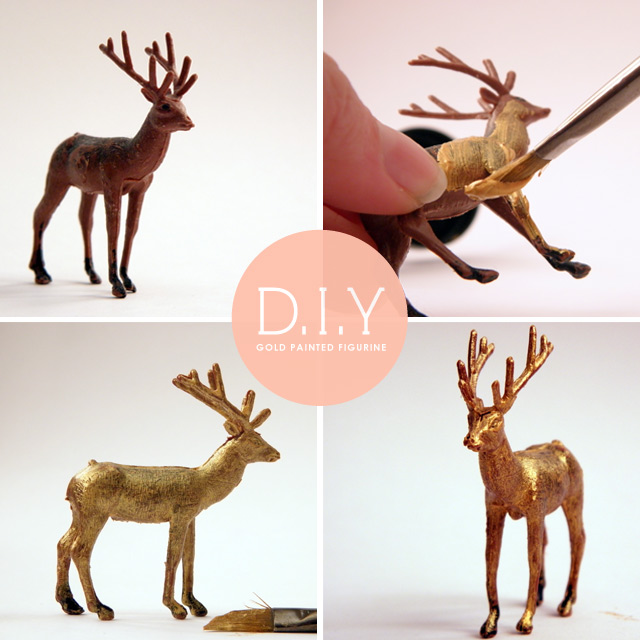
DIY gold painted deer.

Gold painted deer figurine

I know I'm a bit late jumping on the 'paint something crap gold and call it gilded' train, but this little deer sits on my desk and the opportunity presented itself.

Sunday, August 5, 2012

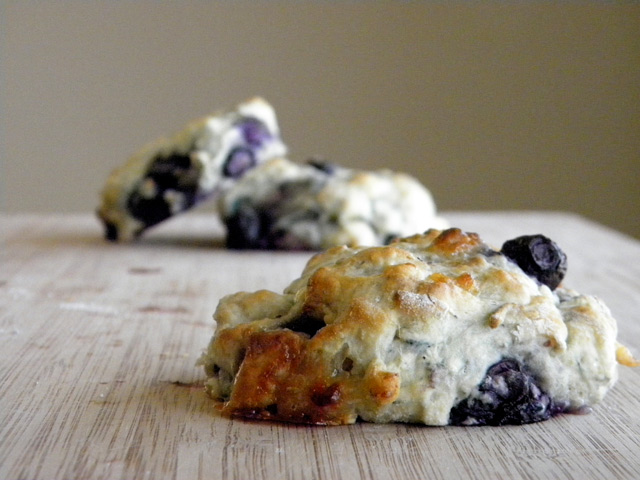
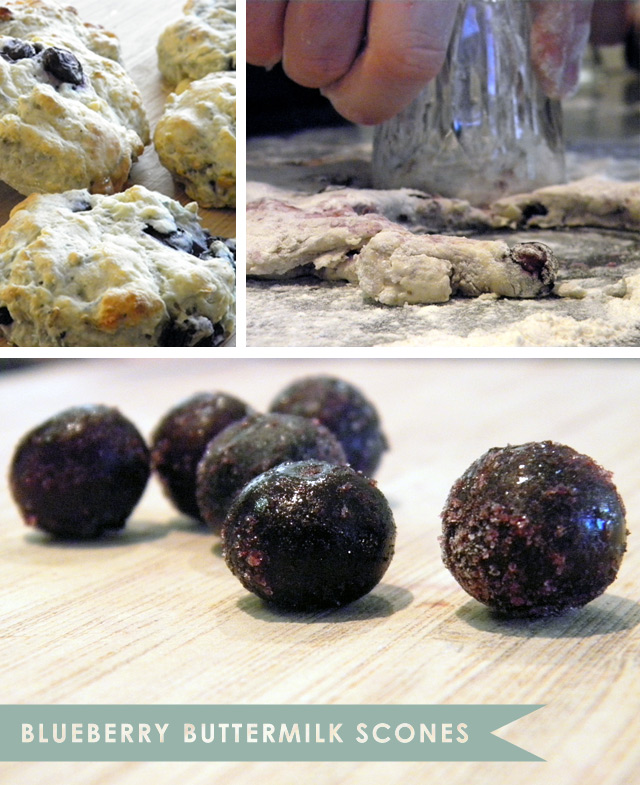
Blueberry & white chocolate buttermilk scones

Blueberry and White Chocolate Buttermilk Scones

Blueberry and White Chocolate Buttermilk Scones

Harley helped me bake these scones on the weekend, and we shared them with his parents. Believe me when I tell you they taste much better than they look! At first I thought the dough wasn't sweet enough, but when you find a chunk of half melted white chocolate the very slightly salty flavour is a perfect match. They are definitely best straight out of the oven.

RECIPE:
2 Cups self-raising flour
1 teaspoon salt
1 teaspoon sugar
1/2 teaspoon bicarb soda
60 g (2 oz) butter
2/3 - 34 cup buttermilk (as much as you need to make a fairly soft dough)
And we added:
200g frozen blueberries
200g white chocolate

Adapted from Margaret Fulton's Encyclopedia of Food and Cookery (Hardie Grant Books)

Saturday, May 12, 2012

DIY Handmade Mother's Day!

Handmade Mother's Day

Handmade Mother's Day

Handmade Mother's Day

Handmade Mother's Day

Mother's Day

Mother's Day

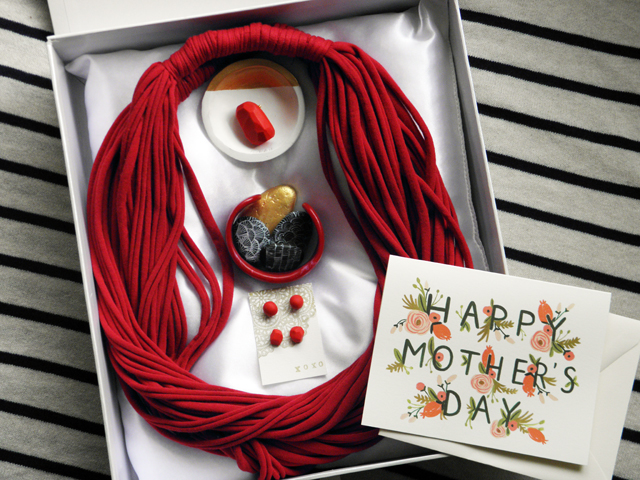
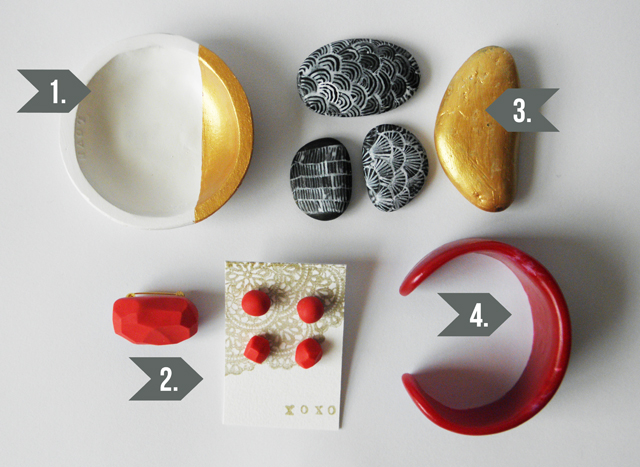
I was low on cash (as always) when Mother's Day rolled around, and decided to trawl the web for lovely DIY handmade gift ideas for my wonderful Mum. It's a bit of a mish mash, but I tried to keep everything to a red, gold and white colour scheme to tie it all together!

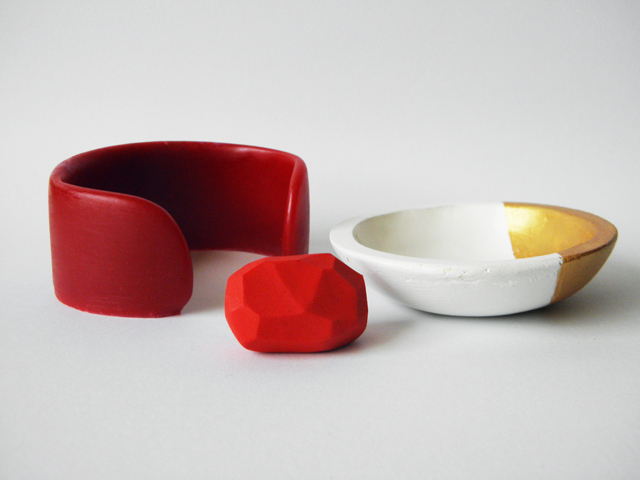
1. Gold paint dipped, faux porcelain bowl made using this tutorial from Curbly
2. Faceted Earrings and faceted brooch made using this tutorial by Alicia from Dismount Creative.
    I just stamped white card with gold ink to make the earring holder.
3. Painted Rocks inspired by these beautiful rocks painted by Geninne.
4. Resin bangle made using this kit.
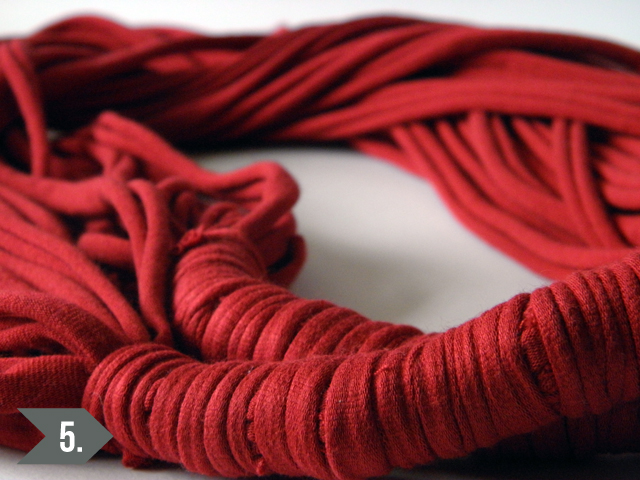
5. Recycled T-Shirt scarf necklace using this tutorial by Bridgette from etté studio
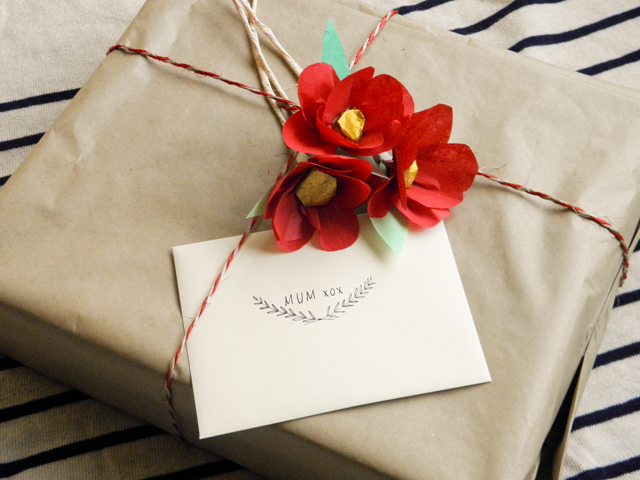
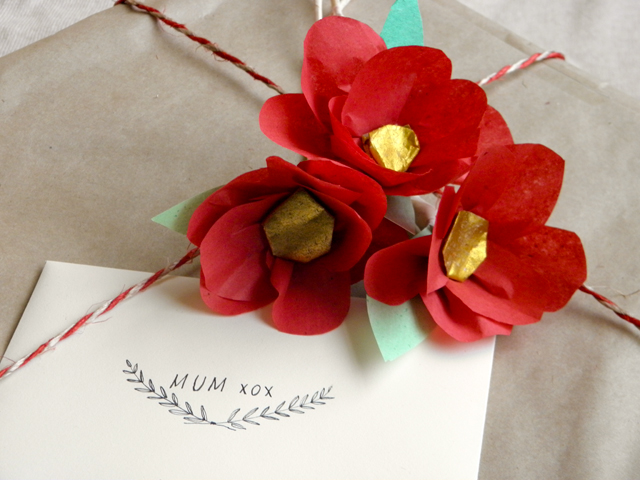
6. It's all in the packaging! I was inspired by this tutorial by Ez from Creature Comforts, and made some flowers from red tissue paper, wire, tape and gold paper to add some prettiness to plain kraft paper.

And finally the card! I found this Rifle Paper Co. Card in Sydney on our break last month. Anna Bond is so amazingly talented, and after admiring her work for so long I was so excited I actually squealed!

Happy Mother's Day to all the Mums out there! x

Thursday, April 5, 2012

Baking - Banana Oatmeal Muffins

Banana Oatmeal Muffins

Banana Oatmeal Muffins

Banana Oatmeal Muffins

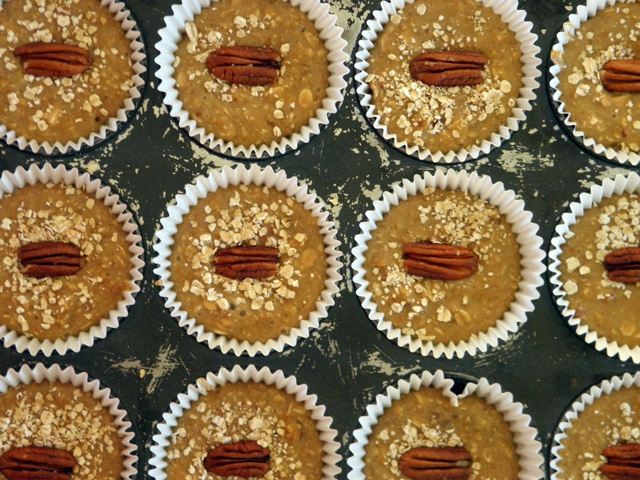
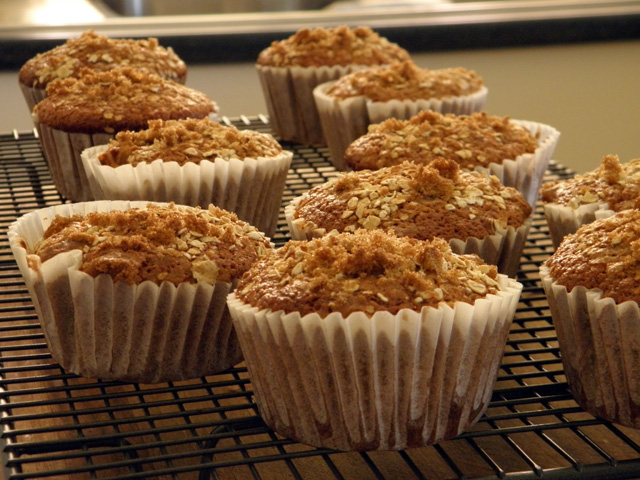
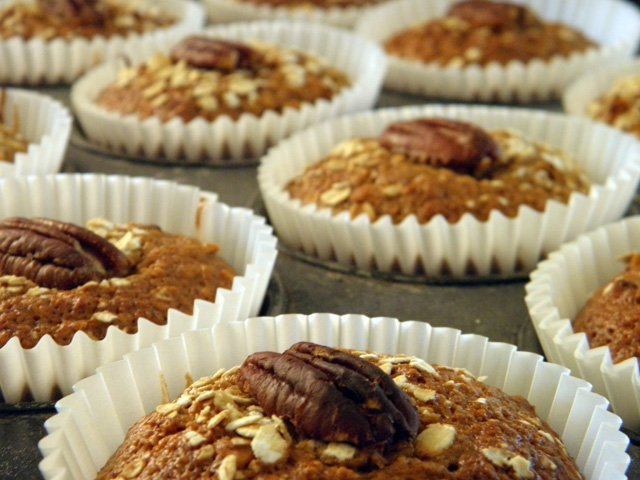
I finally found a way to use up all the over ripe bananas we had. Banana and oatmeal muffins! I found the recipe here, and we only used half the amount of baking soda. They are completely addictive and leave a lovely smell as they are cooking.

Thursday, February 23, 2012

Do Not Bend

Do Not Bend

Do Not Bend

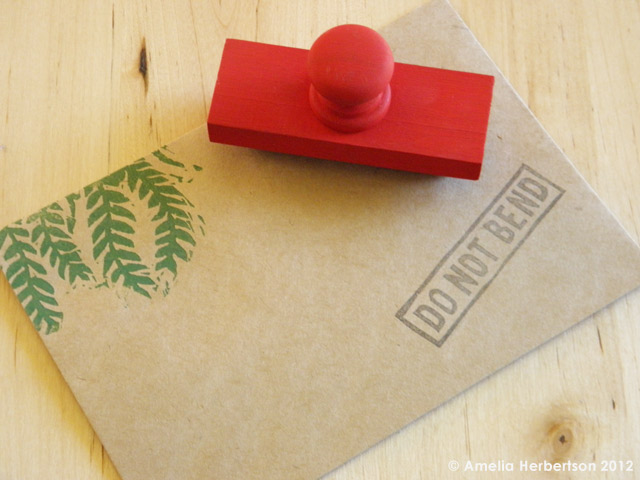
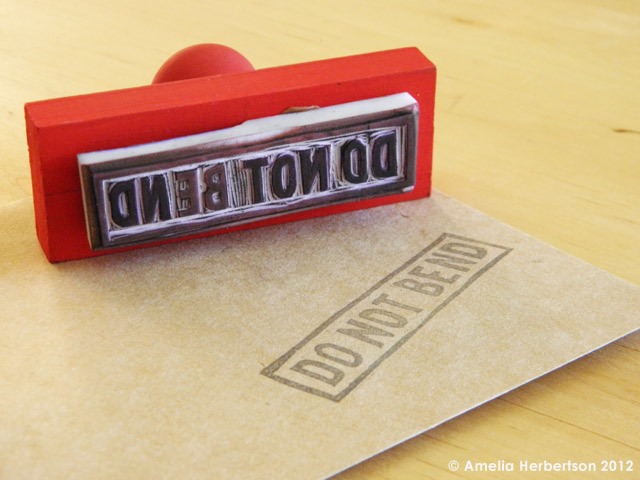
I carved a Do Not Bend stamp for packages, and came home to find Harley had attached it to some wood and fixed a handle on it. He's the best! It makes stamping a lot easier and red is my favourite colour at the moment! The envelope is a leftover from the invitations I did for my sisters wedding.

Saturday, February 4, 2012

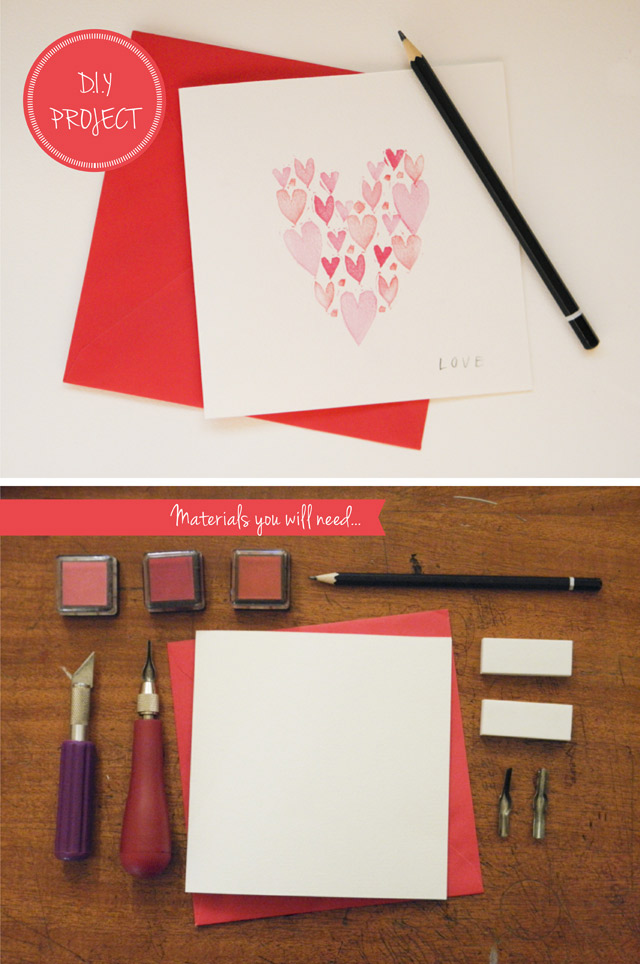
DIY Project: Easy and cheap Valentines Day card. Make your own!

DIY Valentine's Day card
 Every year I make Harley a card for Valentine's Day. This year I thought I would share as it is such a quick, simple and cheap idea you can do too!
Materials:

  • Blank card (I made my own from 220gsm art paper) It looks really nice on matte, slightly textured card.
  • Envelope
  • 2 x Regular eraser
  • Lino carving tool, or if you don't have this, a sharp stanley/craft knife
  • Pencil (make sure it is a light one that can be easily erased)
  • Stamp ink pads

DIY Valentine's Day card

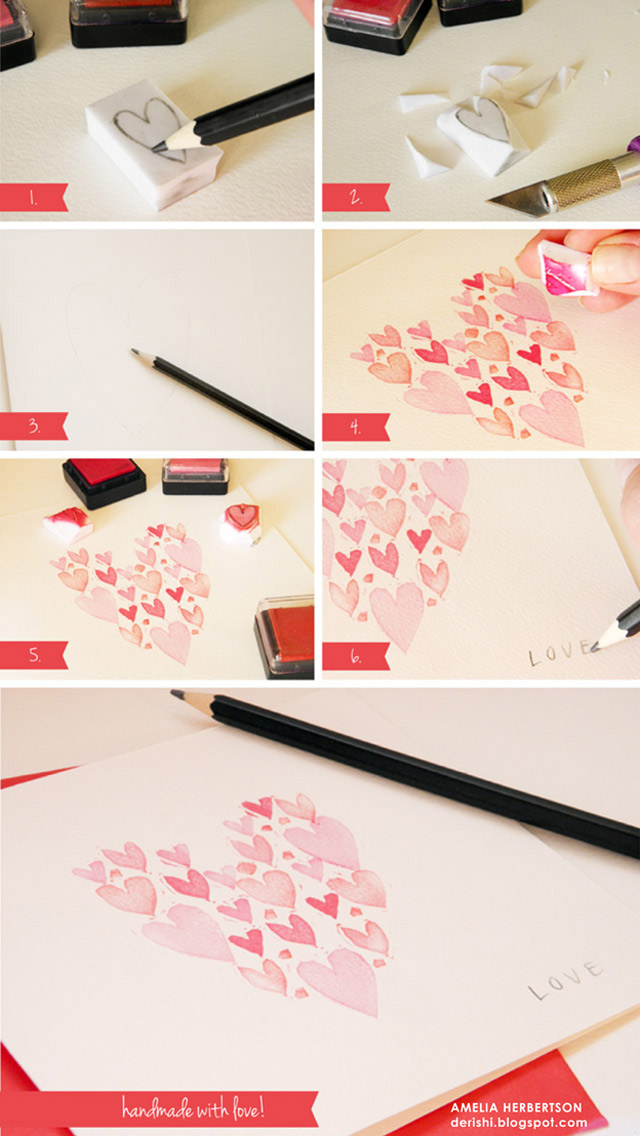
To make:

  1. Using your craft knife, cut the erasers in half. On each half, draw the outline of a simple heart shape. Make each a different size.
  2. With your lino carving tool, or craft knife (be careful, as it is a bit awkward) cut around the outside of the heart shapes, creating four heart stamps.
  3. On your card, lightly draw the outline of a heart shape. Make it light enough so that you can easily erase it later.
  4. Fill the heart shape with stamps! Try to distribute the different sizes evenly so the heart looks balanced.
  5. Erase the pencil heart outline.
  6. I added the word "LOVE" in the lower right corner of the heart, but this is up to you.
And you're done! It's super easy and costs virtually nothing. This card would also look nice framed after Valentine's Day. An original and sentimental artwork made by you!

Tuesday, January 31, 2012

Handmade gifts

Handmade gifts

Handmade gifts

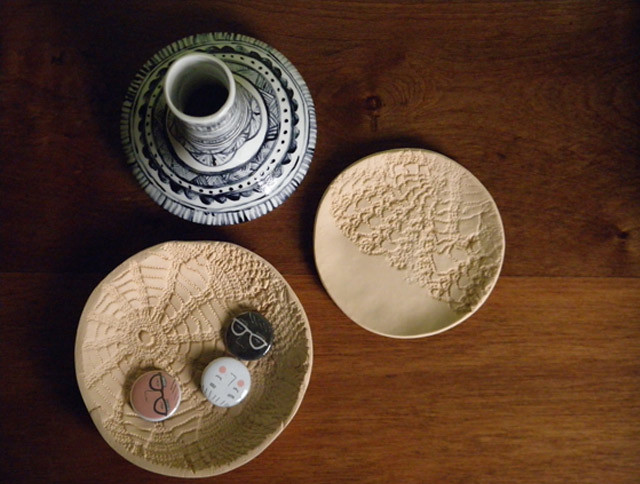
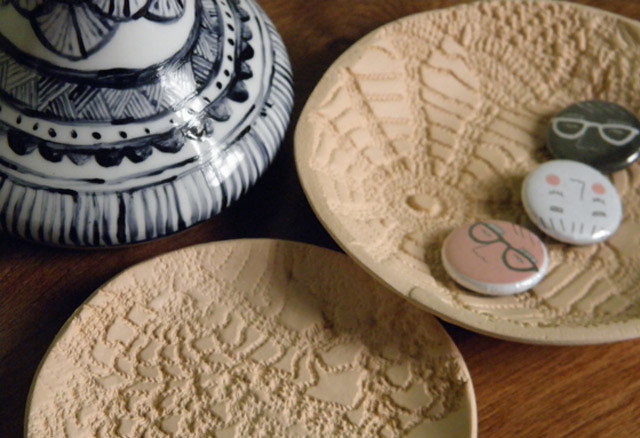
Some gifts I made for my Mum. A hand painted vase, and clay bowls imprinted with a doiley. A few of my badges are in the bowl. As I mentioned before, the bowls were helped along with this tutorial by sodapop design found at the Creature Comforts blog.

Friday, December 9, 2011

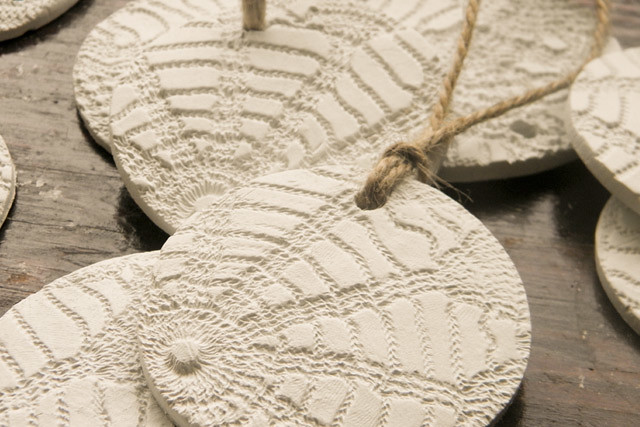
Handmade clay christmas ornaments.

Handmade clay christmas ornament

Handmade clay christmas ornaments

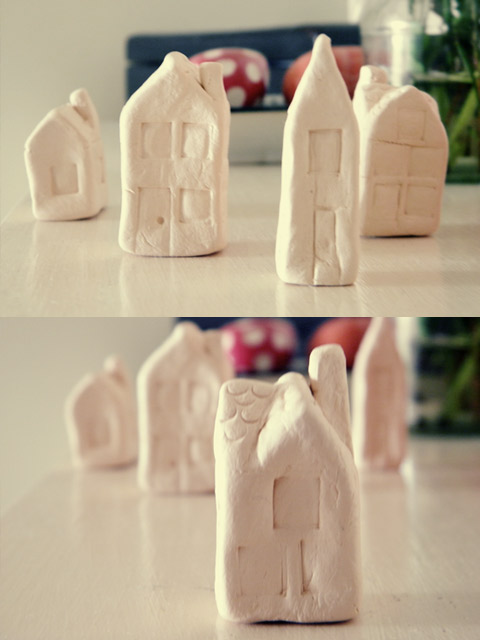
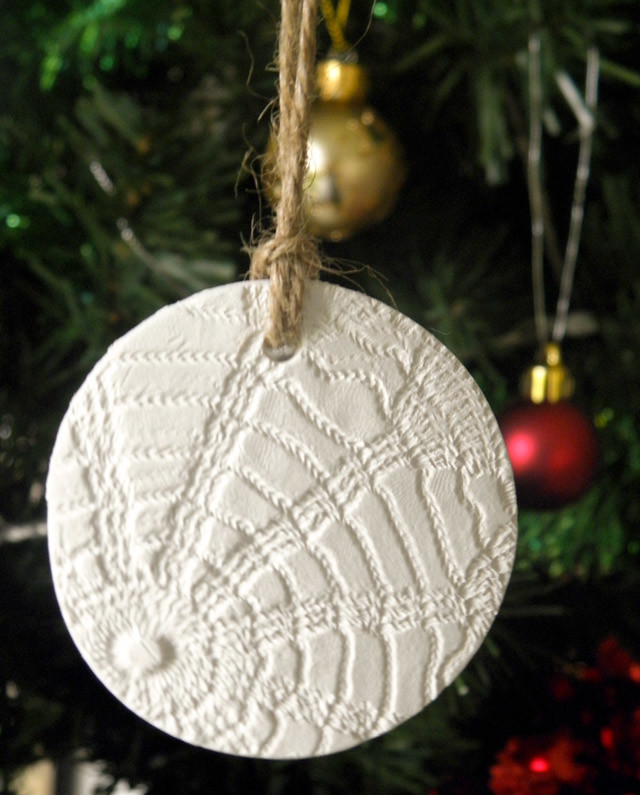
I know there are lots of people using crocheted doilies to imprint an image into clay, and this is old news, but I think it looks lovely and decided to make some to include in my gift wrapping this year. It's so easy!

I've already made some jewellery bowls for my mum and sister using this tutorial by sodapop design found at the Creature Comforts blog.

Friday, October 14, 2011